おまけその2はcanvas要素を簡単に設定する方法このコンテンツのサンプルコードは赤の引き出し線をcanvas要素で作ってます。

HTMLは
<canvas id="canvas3" width="50" height="100"></canvas>
JSは
	var canvas = document.getElementById('canvas');
	var canvasL = document.getElementById('canvasLeft');
	if (canvas.getContext) {
		var ctx = canvas.getContext('2d');
		ctx.strokeStyle = 'rgb(217,0,54)';
		ctx.fillStyle = '#d90036';
		ctx.beginPath();
		ctx.arc(4, 50, 4, 0, 2 * Math.PI);
		ctx.moveTo(4, 50);
		ctx.lineTo(100, 50);
		ctx.stroke();
		ctx.fill();
		var ctxl = canvasL.getContext('2d');
		ctxl.strokeStyle = 'rgb(217,0,54)';
		ctxl.fillStyle = '#d90036';
		ctxl.beginPath();
		ctxl.arc(46, 50, 4, 0, 2 * Math.PI);
		ctxl.moveTo(46, 50);
		ctxl.lineTo(0, 50);
		ctxl.stroke();
		ctxl.fill();
	}
と直線一本引くだけでも9行も必要になります。黒丸を設定するだけでも同じく9行。
さらにcanvas要素は使用する場所へそれぞれ設定する必要があります。
そのためこれをそれぞれ繰り返す必要があります。面倒ですねえ・・・。
こういう場合はjavascriptの配列の出番です。
幸い、設定値は相対的に指定できるので配列から取り出した要素には定数で設定できるので簡単です。
function drawLines() {
	var canvases = document.querySelectorAll('canvas');
	canvases.forEach(function(item, num){
		if (item.getContext) {
			let arcXPoint= 4;
			let lineXPoint= 100;
			if( item.id.includes('L') ){arcXPoint= 46;lineXPoint= 0; }
			const ctx = item.getContext('2d');
			ctx.strokeStyle = 'rgb(217,0,54)';
			ctx.fillStyle = '#d90036';
			ctx.beginPath();
			ctx.arc(arcXPoint, 50, 4, 0, 2 * Math.PI);
			ctx.moveTo(arcXPoint, 50);
			ctx.lineTo(lineXPoint, 50);
			ctx.stroke();
			ctx.fill();
		}
	});
}

export { drawLines };

/* モジュール化してます */
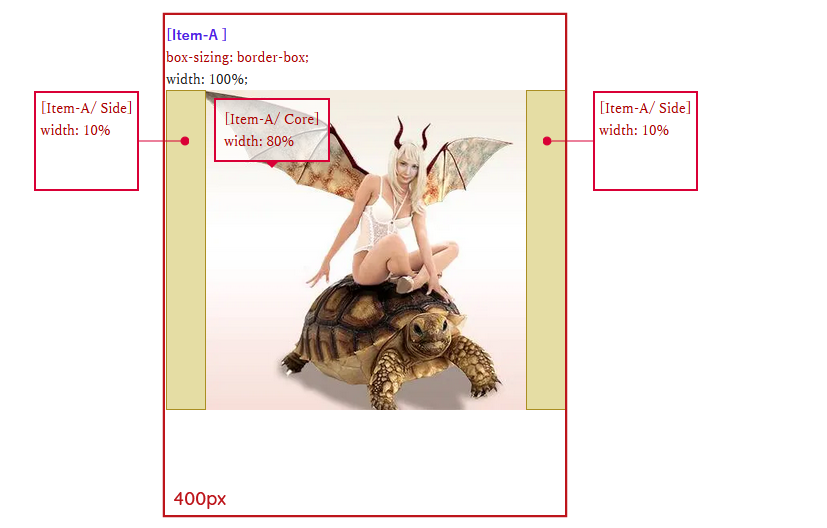
 border-boxの場合


 横幅を100%で指定した場合、親の横幅全体(スクロールバーの横幅をマイナスした)732px。
 横幅を100vwで指定した場合、ブラウザの横幅全体749px。


